### Evaluating Each Starter Pokémon: An Expedition Through Eras
The Pokémon franchise has consistently enchanted gamers, with starter Pokémon playing an essential role in that attachment. These initial partners accompany us through our formative quests in every territory, evolving with us as we encounter obstacles and discover uncharted territories. Although rankings are often subjective, they offer a whimsical method of evaluating the starters based on different aspects like design, popularity, and their influence on the series. Here, we present a classification of the first-stage starter Pokémon from all nine generations, including the latest entries from Pokémon Winds and Waves.
#### A Brief Introduction to Starter Pokémon
Starter Pokémon, typically divided into Grass, Fire, and Water categories, function as the player’s primary companions. Their designs are intended to leave a lasting impression, ensuring they are unforgettable characters within the Pokémon realm. They stimulate nostalgia as numerous players reminisce about their journeys with their selected starter, forging a lasting bond that extends far beyond the initial quest.
#### The Newest Incorporations
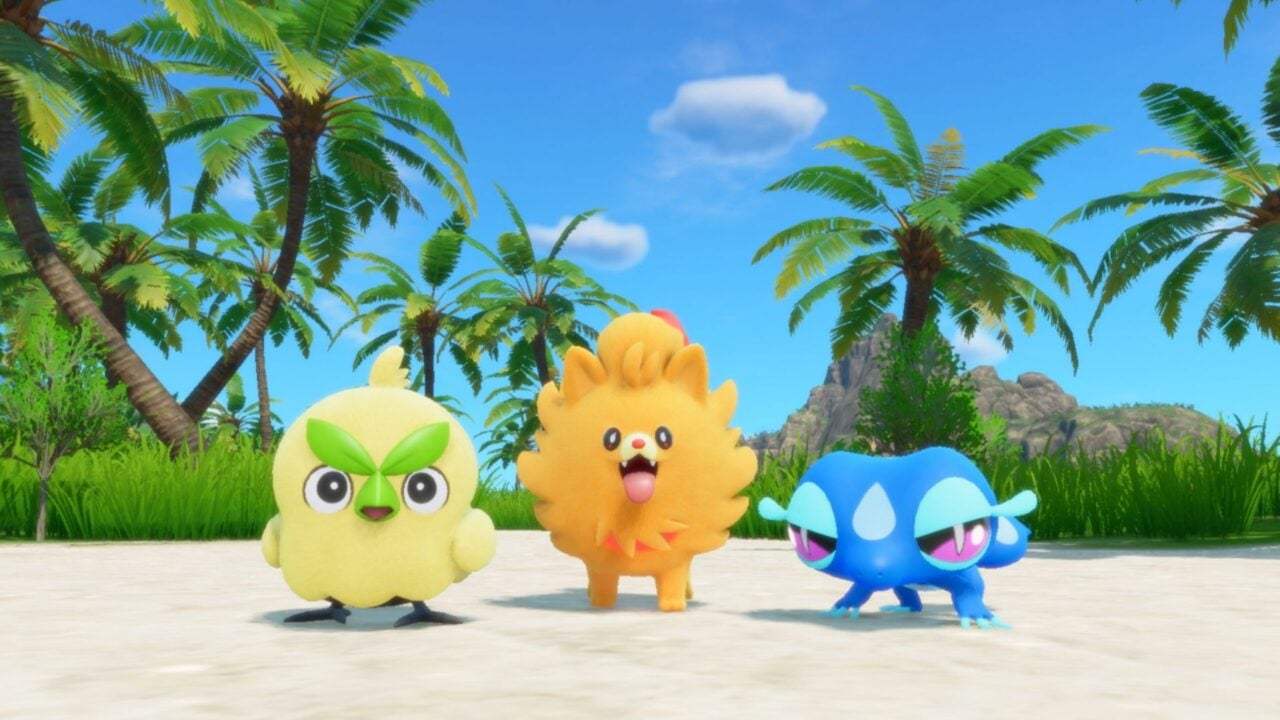
With the revelation of the starters in Pokémon Winds and Waves, the structure of our rankings has been altered. While these new Pokémon have yet to be explored thoroughly in gameplay, their designs and first impressions permit us to integrate them into the established ranking system. The excitement regarding their upcoming evolutions and battling abilities guarantees they will be central figures for trainers when the games debut in 2027.
#### The Ranking Framework
This assessment exclusively considers the first-stage evolutions of each starter Pokémon. Factors such as popularity, design quality, battle effectiveness, and overall cultural significance will play a role in the rankings. Notably, evolved versions like Charizard, despite their notoriety, will not be included to keep the focus on the starters themselves.
### The Rankings
1. **Treecko (Hoenn)**
– With its streamlined design and speed, Treecko is a standout favorite among Grass starters. Its evolutionary line provides strategic advantages in battles, and its popularity remains strong.
2. **Charmander (Kanto)**
– Charmander continues to be iconic due to its transformation into the formidable Charizard, yet it possesses inherent appeal as an independent Pokémon, cementing its place in trainers’ hearts.
3. **Froakie (Kalos)**
– As a Water-type starter, Froakie’s delightful design and competitive performance in battles make it a favored option. Its evolution into Greninja only enhances its popularity.
4. **Litten (Alola)**
– With its stylish, feline design and an attractive evolution, Litten quickly became a beloved choice among fans of Pokémon Sun and Moon, combining aesthetic appeal with functionality.
5. **Piplup (Sinnoh)**
– Piplup’s charming appearance and robust evolutionary path have established it as a beloved Water-type starter. Its fanbase is loyal, frequently celebrating its adorableness.
6. **Cyndaquil (Johto)**
– Cyndaquil’s uncomplicated yet endearing design has won over fans from older generations. Its fiery character and evolution into Typhlosion add to its allure.
7. **Popplio (Alola)**
– Popplio’s distinctive design and battle performance distinguish it among newer starters. Its transformation into Primarina brings additional sophistication and strength.
8. **Turtwig (Sinnoh)**
– Turtwig’s durable nature and the solid presence it lends to battles have enabled it to maintain a devoted fan following, affirming its reputation as a dependable Grass-type starter.
9. **Sprigatito (Paldea)**
– As one of the latest additions to the series, Sprigatito shows potential with its appealing design. Its capabilities in gameplay are highly anticipated as players look forward to its future evolution.
### Conclusion
While rankings are inherently subjective and may shift with new releases and Pokémon advancements, the first-stage starter Pokémon possess a unique allure that transcends eras. The emotional bonds players forge with their selected companions are undeniable, going beyond the mere numerical representations of rankings. Whether you lean towards the fiery spirit of Charizard or the leafy elegance of Treecko, each starter Pokémon is an integral element of the Pokémon experience, offering not only challenges but also treasured memories.